

Create an Atlas ISO
On this page
An ISO is a file that contains Windows installation media. Atlas Manager can add Atlas to a copy of Microsoft’s ISO and write that copy to a USB drive. Use it to reinstall Windows with Atlas on this PC or another one.
Atlas installs on the destination PC after Windows setup and your first sign-in. That PC still needs an internet connection, Windows and Store updates, and the Windows Security step. Creating the ISO doesn’t install anything on the PC that makes it, or change your original ISO.
What you need
- A Windows 11 ISO from Microsoft, for a supported release. Atlas Manager can download it from Microsoft. If you bring your own ISO, use an unmodified Microsoft image for the destination PC (x64 or Arm64). It must contain a supported edition, such as Windows 11 Pro.
- An Atlas package: Atlas Manager can download the latest one for you.
- Free space on a local NTFS or ReFS drive for the new ISO and its working files. Allow five times the size of the source ISO, plus twice the unpacked Atlas package size and another 4 GiB.
- Administrator permission. Without it, the page offers only Relaunch as administrator.
- A USB drive from 8 GiB to 2 TiB, if you want an installation USB. Writing it erases the drive.
1. Files
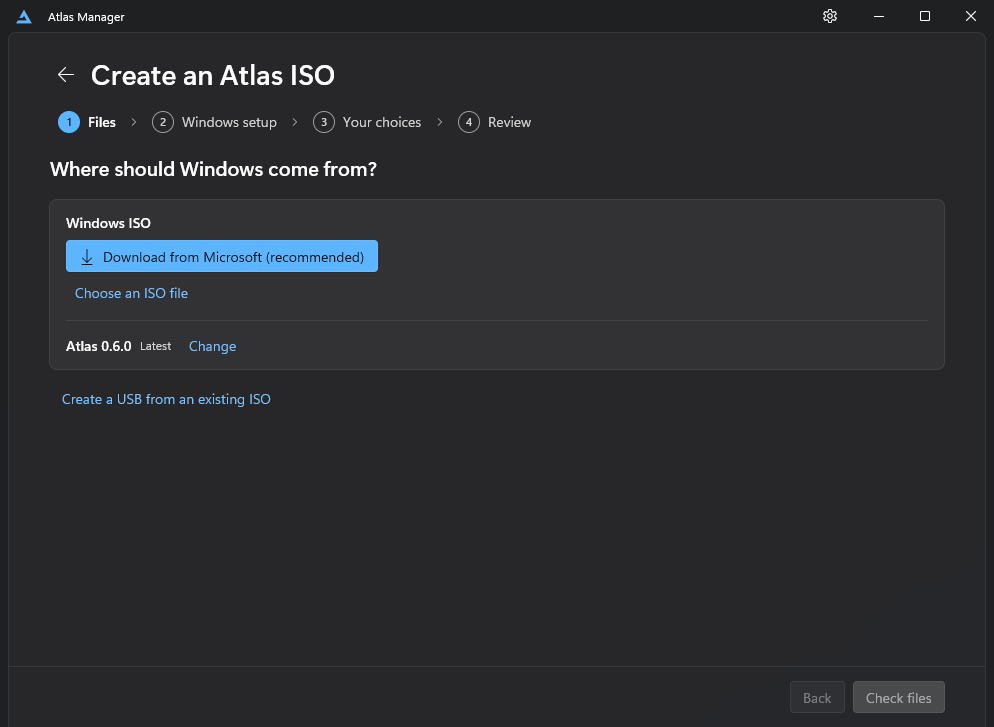
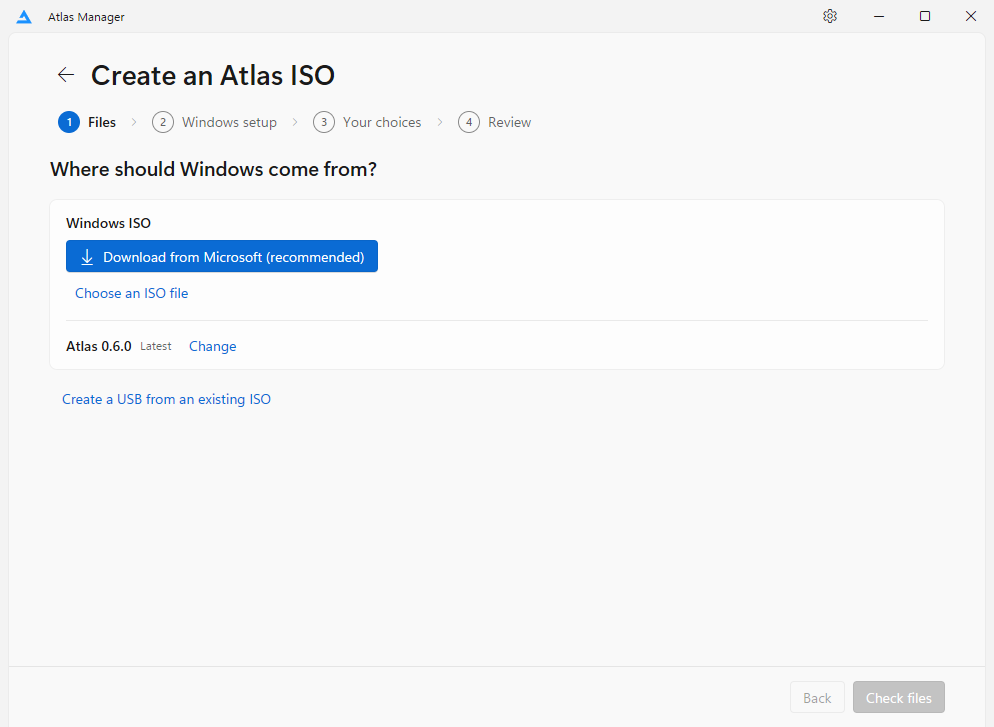
On Home, choose Create an Atlas ISO. The flow has four steps: Files, Windows setup, Your choices and Review.
- Under Windows ISO, choose Download from Microsoft (recommended). Check the language and architecture, then choose Download Windows 11 from Microsoft and select a location for the download. If you already have a Windows ISO, select Choose an ISO file instead.
- Download the Atlas package the app offers, or select Change to use a saved package.
- Check the file name next to Save as. Choose Change to save the new ISO somewhere else.
- Choose Check files.
Atlas Manager checks the Windows release, the editions in the ISO and the free space. When the check passes, choose Continue.
2. Windows setup
Check the Windows edition. If the ISO contains several editions, choose one you have a licence for or leave the choice until Windows setup. Read and accept the licence terms when prompted.
Enter a Local account name. Windows creates a local account with this name. Choose its password the first time you sign in. Windows setup skips the Microsoft account and privacy screens and turns off optional data sharing and personalised offers.
Under How should drivers be installed?, choose Get drivers through Windows Update or Install drivers myself for the destination PC.
Answer Which PC will you reinstall Windows on?
- This PC lets you choose Include this PC’s network drivers, so Windows can go online straight after it’s reinstalled. Choose Use installed drivers, or Check Windows Update first to download matching drivers as well. Your Wi-Fi password isn’t copied, so you reconnect after reinstalling.
- A different PC includes no network drivers. Keep that PC’s network driver on separate storage in case Windows can’t connect.
3. Your choices
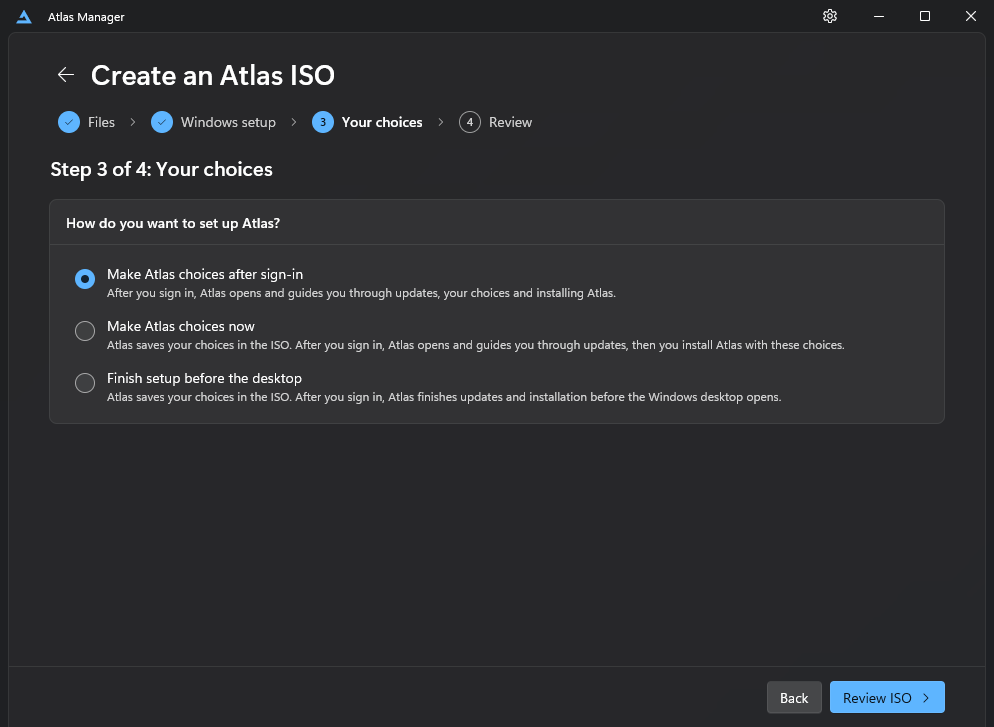
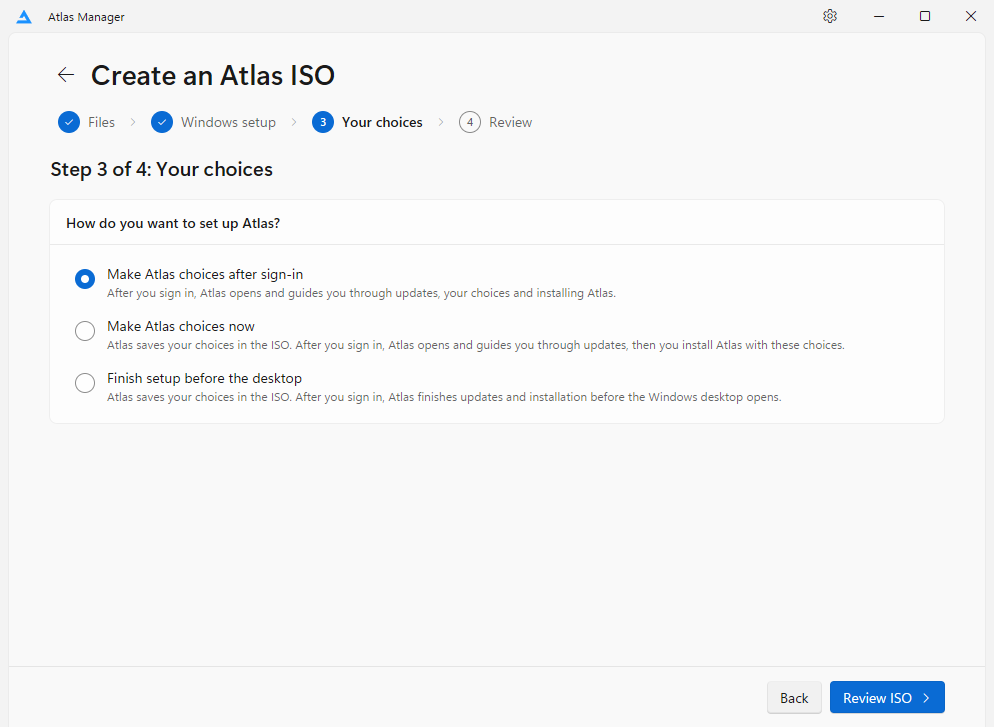
Answer How do you want to set up Atlas?
| Mode | What happens on the destination PC |
|---|---|
| Make Atlas choices after sign-in | After you sign in, Atlas Manager opens and guides you through updates, your choices and installing Atlas. |
| Make Atlas choices now | You make your choices here and Atlas Manager saves them in the ISO. After you sign in, it guides you through updates, then you install Atlas with these choices. |
| Finish setup before the desktop | Your choices are saved in the ISO. After you sign in, Atlas Manager finishes updates and installation full-screen, before the Windows desktop opens. |
With the second and third modes, you answer the same questions as in a normal installation here. An older Atlas package may only offer Make Atlas choices after sign-in.
Finish setup before the desktop still needs your attention: it asks for administrator permission, a network connection and the Windows Security step. Settings, Windows Security and Store apps work behind it. Continue in Windows lets you leave it whenever no update, installation, media job or restart countdown is running.
4. Review and create
Review ISO shows one card for each step, with a Change link, and lists the editions the ISO includes. Only supported editions are included. If you left the edition choice until Windows setup, select an edition you have a licence for there.
Choose Create ISO and keep Atlas Manager open. A checklist shows each stage, from Checking your Windows ISO to Checking the new ISO. Wait for Your ISO is ready before you use it.
5. Create an installation USB
Choose Create installation USB on the finished ISO screen. To use an ISO you already have, choose Create a USB from an existing ISO on the Files step.
Back up the USB drive first
Writing the USB permanently erases every file and partition on the selected drive. Copy anything you want to keep to another drive before you continue.
- Connect a USB drive, then choose Refresh and select it.
- Choose Review USB and check the drive’s model, capacity, volumes and serial number.
- Select I understand that everything on this USB drive will be erased, then choose Erase and create USB.
- Keep the drive connected until Your USB is ready. Atlas Manager checks every file it writes.
- Choose Eject USB before you unplug the drive.
Atlas Manager uses up to 32 GB of the drive and leaves the rest unused. The drive starts in UEFI mode, which Windows 11 requires.
6. Install Windows and Atlas
Back up the files on the PC you want to reinstall. Plug the USB drive into that PC and start it from the drive using its boot menu, often opened with F12, F11 or Esc as the PC starts. Check the destination drive carefully before you change partitions.
After Windows setup, sign in and choose a password for the local account. Atlas Manager opens. Connect to the internet. If Windows can’t find your network adapter, install the network driver you saved.
Then follow the installation guide from Get ready. With Finish setup before the desktop, the Your choices step is skipped because your choices are already saved. Restart when installation finishes, then follow First setup.
If media creation fails
A failed or cancelled job shows a bar with Open log folder and the diagnostic buttons. Your original ISO stays unchanged. A USB drive that didn’t finish can’t be used to install Windows; create it again.
If it keeps failing, see Report a problem.